10 Tips for Landscaping Your Garden

What makes a garden beautiful? Is there some kind of hack? A secret sauce? Nahhh. First and foremost, what really makes a garden beautiful is the fact that someone - a gardener - loves it, tends to it and cares for it. But, all romance aside, there are a few real things you can do when designing your garden layout to make it as aesthetically pleasing as possible. These rules of thumb are by no means hard and fast, but they do generally help to add structure, shape, interest and continuity to a garden. Whether your garden is edible, ornamental, or a mixture of both, following these 11 recommendations will help you craft a space that is as beautiful to be in as it is earthy, scented, blooming and delicious.
1. Build paths that wind off into hidden destinations
The most inviting gardens are those that you cannot see the end of. It feels like they might ramble on forever and there’s something totally alluring about walking down a path that curves off towards a hidden destination. It works on our natural curiosity, drawing us further into the garden and its mysteries. One piece of advice that I learnt many years ago is: at any place in the garden you should not be able to see all of the garden. That is, wherever you stand, some part of your garden should be hidden from view.
More recently I’ve learned of a similar ethos at work in the Zen garden at Ryoanji temple. This garden contains 15 stones, placed so that from any one vantage point you can only ever see 14 of the stones. The placement of the stones reminds us of our own ignorance; of the fact that we can never know absolutely everything from a single - fallible - perspective. Existential philosophy aside, it’s also a great way to make any garden - big or small - interesting, enticing and mysterious.
It can be pretty daunting laying the first path through your garden. Especially if you’re starting with a truly blank canvas, it’s tough to know where to begin. In my experience, the best way around this initial inertia is to get a few cheap pavers (or anything really - some leftover bricks, some bits of wood) and lay them out where you think you’d like the path to go. Then use it and live with it for a few weeks. You’ll start to get a feeling about whether or not it flows in a satisfying way.
In my own garden, I used a combination of trees and paths to create an outline of the early structure. I laid down temporary pavers that wound around a few trees I had already planted (although if you have some trees in pots, trying them out in different positions can help you get a feel for potential layouts too). This flexibility is a great way to decide what designs might work for you, but equally, try not to let the infinite possibilities paralyse you either. At some point, the only way to create the garden of your wildest dreams is to grit your teeth, stick a shovel in the ground and plough forth (and don’t forget there’s almost nothing in the garden that is ever actually set in stone - if you don’t like it in 5 years, you can still probably change it).
When laying your paths, think about how you’d like people to move through the garden. If you want to encourage relaxed ambling, use winding paths that turn off into hidden destinations. If you need to access a part of the garden for utilitarian purposes (e.g., moving a wheelbarrow to a shed) it can be more effective to use straight and efficient paths.
Remember that people will take the shortest route to a destination unless you make it impossible for them. So, if you’re building winding paths into your garden, make sure people can’t simply step over or through them and (even better) obscure the destination so they’re less tempted to cut corners and more likely to lose themselves in your garden.

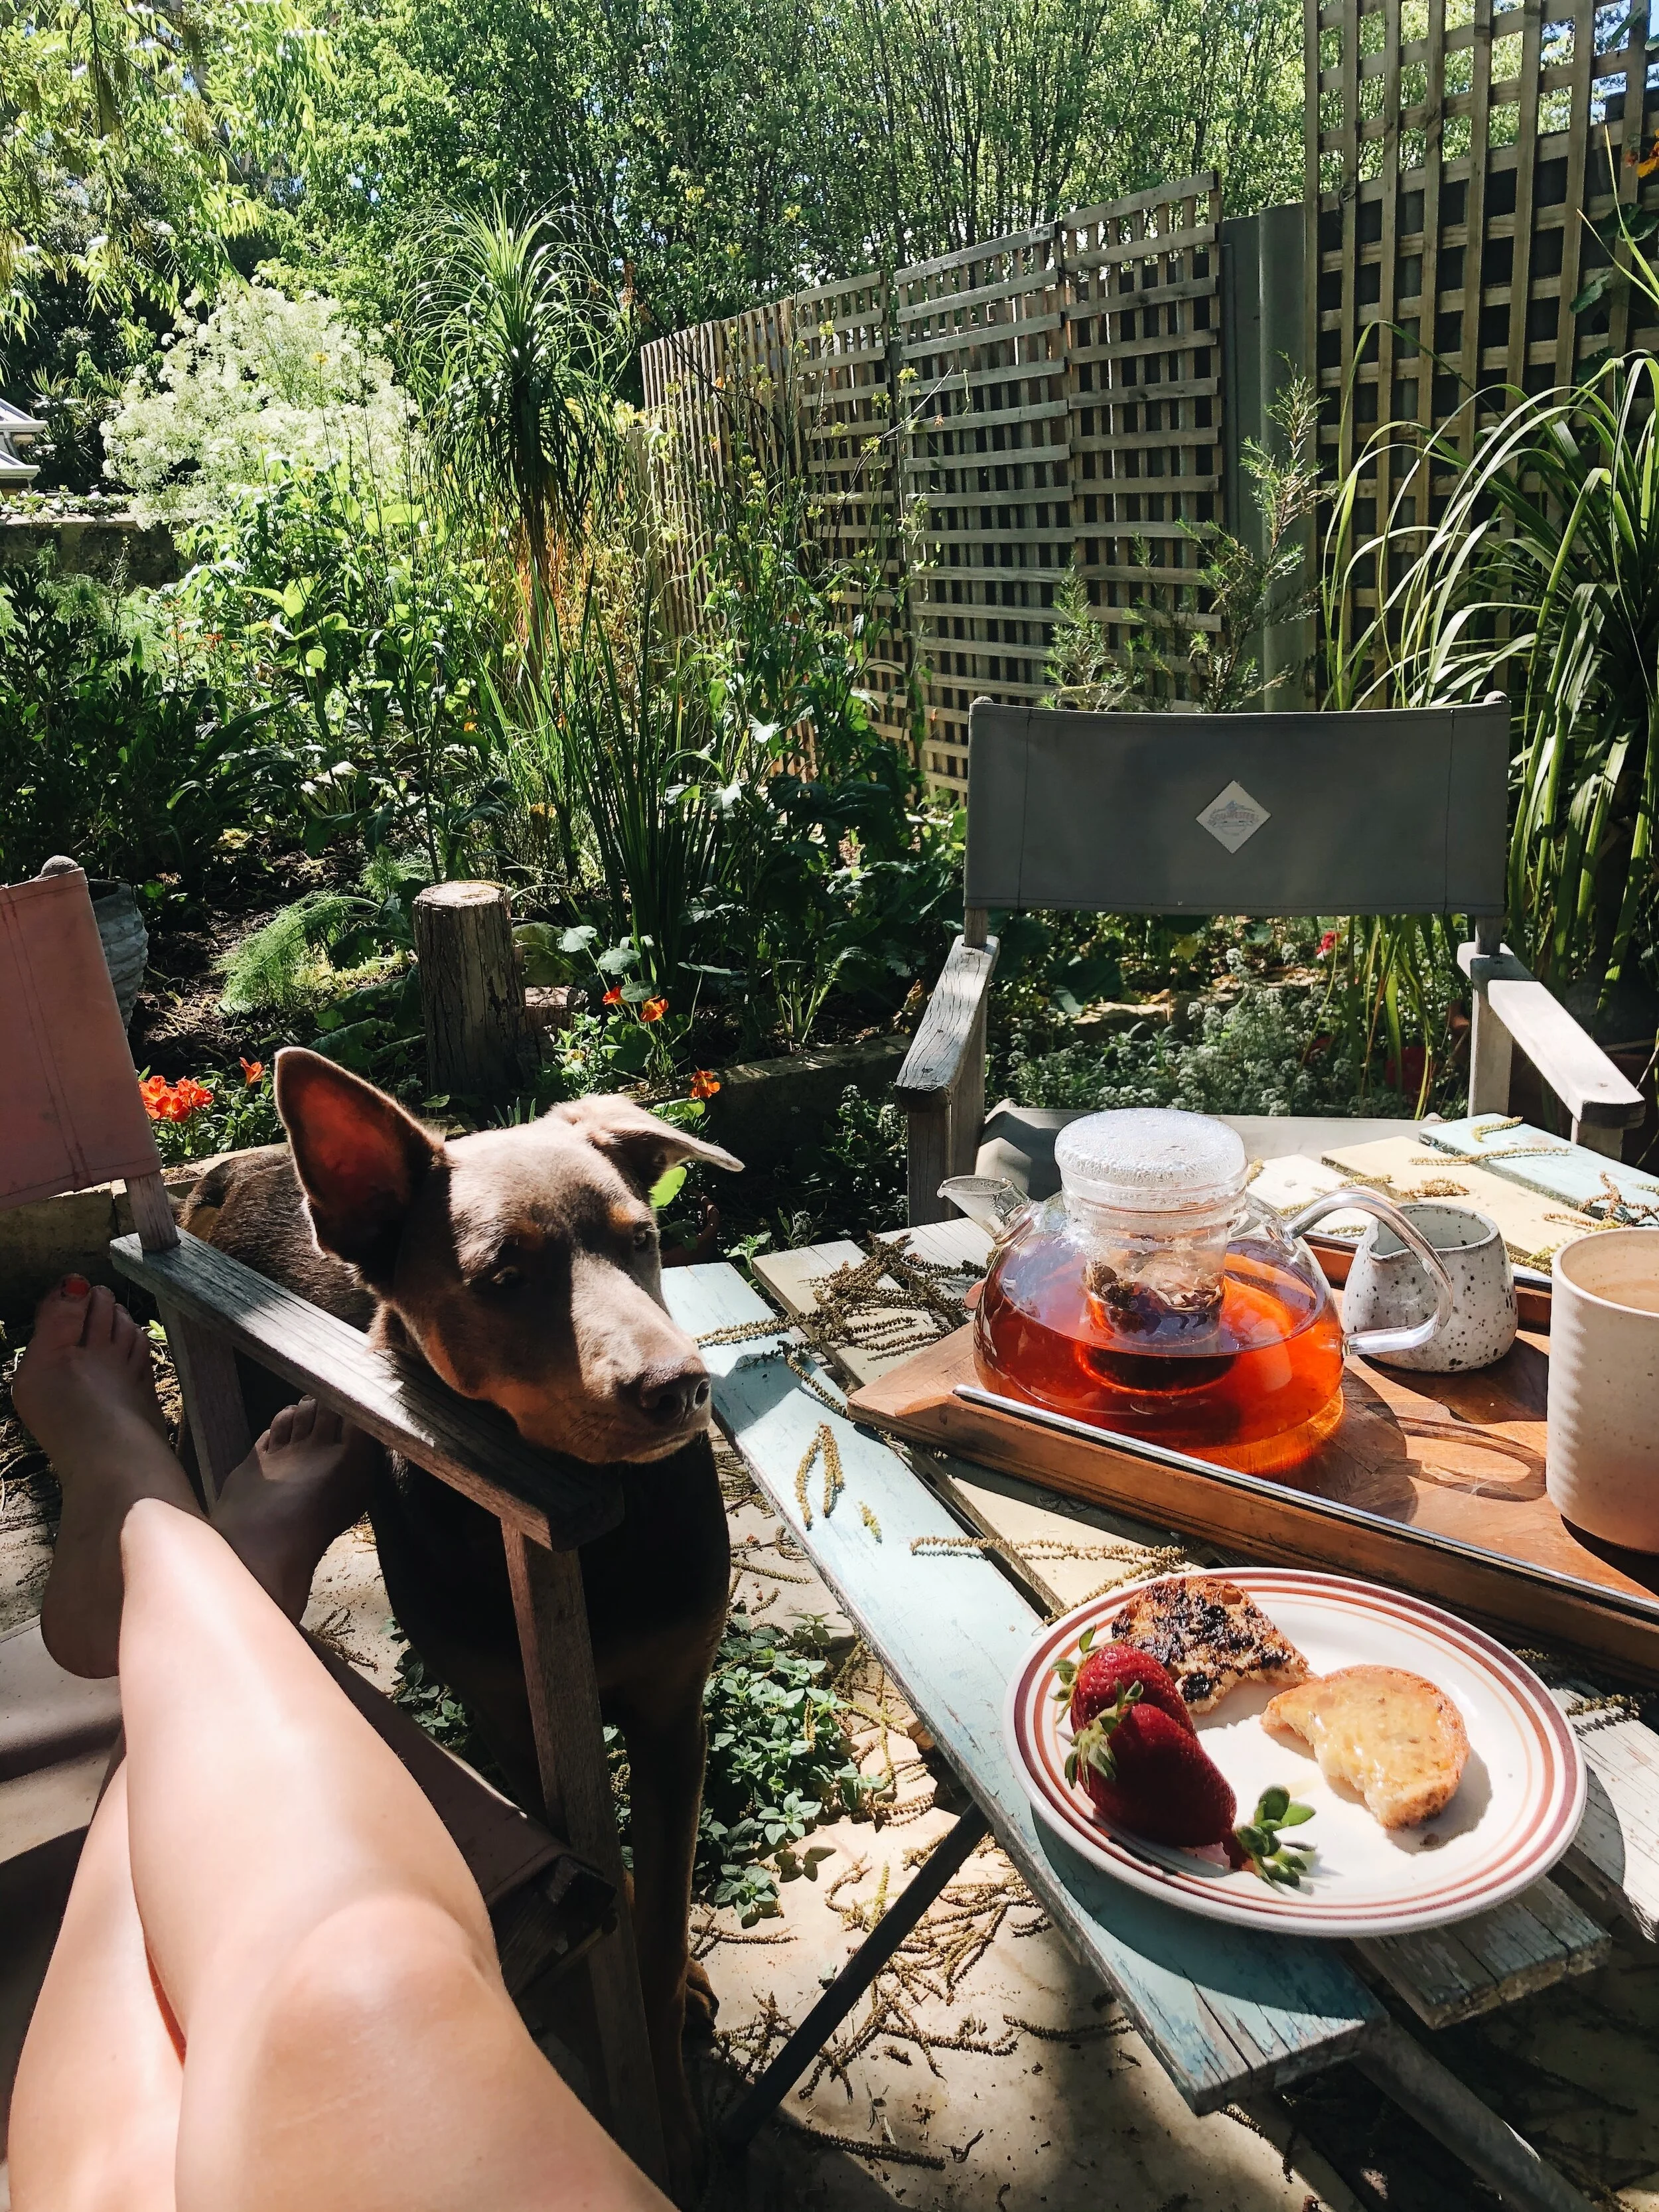
2. Add pots, wheelbarrows, bird baths and arches for structure
It’s not just the paths and the plants that provide structure in your garden - you can add in a wide range of non-living elements to provide structure too. The great thing about these structural elements is that they can often be shifted around whenever you feel like shaking things up. In my garden I use a combination of archways, an orange chimney (it was taken off our house a few years back and so - obviously - I shoved it into the soil!), two bird baths, an old metal milk jug, a wheelbarrow and many pots, which I shift around the garden to fill empty spots and to add instant flowering colour to areas that need it.

The old milk jug, filled with Zephyranthes candida

A birdbath underneath the Native Mulberry
3. Use trees to create height (and not just at the perimeters)
It is a common misconception that trees must be planted only around the edges of a garden (and nowhere else). I think this comes from a fear that planting trees in the centre of a garden will ‘shade-out’ or ‘crowd-out’ the garden but that couldn’t be further from the truth. Obviously, some very large trees will eventually produce a great amount of shade and if you plan to grow veggies or other sun-loving plants then it’s best not to stick these trees anywhere that will shade your entire patch.
But there are many, many trees that do not grow very big or do not necessarily cast a lot of shade. These are invaluable for adding structure to your garden and creating milder microclimates for more sensitive plants that prefer dappled shade. In my garden, at last count I had about 30 trees, ranging from the very large pecan (right at the back) to the tiniest dwarf nectarine, which stands at less than 1m. Adding a few taller (2-3m tall) trees throughout your garden helps to break it up, gives your paths something to wind around, and makes the space feel wilder, and more expansive. More like a forest than a backyard.

The banana is planted smack bang in the middle of the garden, creating a semi-secluded space beyond
4. Build ‘rooms’ into your garden, inspired by the sun
Gardens are meant to be enjoyed, so when planning your layout it’s important to factor in spots to sit and enjoy your garden. If you’re not sure where to start, have a think about where the sun goes and give yourself:
A place to bask in the morning sun
A place to lounge in the midday shade, and
A place to enjoy the last of the afternoon sunlight
Depending on the size and level of sun/shade in your garden you may be able to get morning sun, midday shade and afternoon sun all in the one spot. If not, take some time to find the nicest parts of the garden at different points during the day, and create a lovely space for yourself to sit and relax in every single one.

One of my garden ‘rooms’ through the trees
The perfect spot for sunny breakfasts
5. Create ‘windows’ and tall borders to peer through
Just as hidden pathways pull you deeper into the garden, you can also create living ‘windows’ that give you tantalising glimpses of the spots that are hidden from view. These can be made by growing tall borders of plants that you can peer through or around to see other parts of the garden. You can also grow hedges that act like living walls, with gaps or doorways that lead into other sections of the garden. In my garden a kind of living doorway has emerged entirely by accident; the elderflower tree and the native mulberry have spread their branches into each other’s canopies, creating a natural archway that gives a glimpse of the garden beyond.

The elderflower tree (right) has grown into the native mulberry (left)…

…creating a beautiful (entirely accidental) natural archway to walk under
6. Grow perennials with annuals
The prettiest gardens (in my opinion) have a mixture of perennials (plants that live for two or more years) and annuals (plants that grow from seed, flower and die in a single year). Perennials help provide more permanent structure in your garden. They tend to grow taller and take up more space than annuals, and because you don’t pull them out every year, they add stability to the garden (both in terms of its appearance and in terms of the health of your soil and the wellbeing of the critters who share your garden with you).
Annuals are often absolutely gorgeous, with massive flushes of fruit to harvest or flowers that bloom all at once creating an impressive display. BUT, it can be very hard to create structure in every season if you are only growing annuals - there will be points where they’ve finished fruiting/flowering, you pull them out, and your garden suddenly looks a bit barren. Adding perennials means there’s always something beautiful growing in your garden. You can then plant annuals in the remaining spaces, to add colour, interest, fruit, veggies, flowers and life in every season.

Giant salvias (purple) next to buddlejas, echium and an oyster plant
7. Repetition, repetition, repetition, repetition, repetition!
I learnt jazz saxophone all the way through high school. My favourite part was improvising, and my teacher always told me ‘if you play a note that sounds wrong, the best thing you can do is… immediately play again with confidence’. Repeating the ‘mistake’ made it seem intentional and it suddenly wasn’t incongruous with the rest of the music, it was funky, challenging and very, very cool (at least, that’s what I told myself while wearing my stage band outfit of black flared pants, a fluorescent lime green shirt and - for reasons unbeknownst even to me - my hair in plaited pigtails). Anyway, I digress. Point is, repetition is great in all walks of life, and it works especially well in our gardens.
Gardens that lack repeating elements often begin to look chaotic and ‘bitty’, while gardens that incorporate repeating colours (from flowers or foliage) or use repetition of certain plants have a feeling of continuity - of being tied together. For example, you might choose to repeat the purple tones of society garlic, borage and giant salvias (Brillantaisia ulugurica), the warm tones of calendula, nasturtiums, marigolds and tropical milkweed, or the silvery foliage of Dusty Miller (Jacobaea maritima), echium and wormwood (Artemisia absinthium).
The importance of repetition can be a tough lesson to learn for gardeners like me, who - magpielike - collect new plants without a single thought as to whether they’ll actually ‘go’ with the rest of the garden. In my experience, there are two ways around this (and neither of them is a refusal to buy weird new plants, which would be a cruel and terrible thing to inflict on oneself!).
First, if you find a new plant that you love, learn to propagate it. Most plants are reasonably easy to propagate, either by collecting their seeds or taking cuttings. Then you’ll have lots of versions of the same plant to pop throughout your garden and it won’t feel ‘bitty’ anymore. Second, you can use ‘matrix’ planting to add one type of plant reliably throughout the garden to pull the whole space together. This is often done with feathery grasses that have a beautiful way of softening and unifying a garden (for examples, see the beautiful gardens created by Piet Oudolf here, here, here and here). In my own garden it’s also worked really well with fennel and with breadseed poppies, both of which sprung up at random intervals throughout the entire garden last spring, tying everything together in a frothy sea of pink blooms and yellow blossoms.

Bright orange calendula and purple borage (annuals) which self-seed readily every year
8. Use the ‘rule of threes’
There is a phrase in Latin; ‘omne trium perfectum’, which means ‘everything that comes in threes is perfect’. This is now often referred to (rather less beautifully) as the ‘rule of threes’. For whatever reason, the human brain tends to find groups of three visually appealing (also appealing are groups of five and seven).
This means when planting clumps of plants together, it is much better to plant an odd number than an even number. Likewise when creating a display of potted flowers - opt for a collection of 3, 5 or 7 pots, rather than 2, 4 or 5. There are obvious exceptions to this rule (a doorway flanked on either side by two cypress trees would look very beautiful!) but it’s a handy rule of thumb to keep in mind when popping flowering annuals into the garden, planting out shrubs or arranging your pot plants.
9. Plant flowering annuals in clumps and bulbs in ‘drifts’
Speaking of all things clumpy, it’s a good idea to plant smaller plants in groups of the same plant, rather than individually. Many plants are much more striking when planted in groups rather than dotted through the garden in isolation (with the exception of matrix planting, which works because the one plant repeats throughout the garden so often). For instance, a big clump of cornflowers or sunflowers looks majestic, generous and impressive, while a single cornflower or sunflower can often disappear into the mass of other plants next to it.
Planting in clumps also offers practical benefits - it can help certain plants stand upright, because - when planted as a group - they support each other. Less practically (but equally importantly) it helps the plants hold their own in your garden; they jump out and catch your eye, even when planted next to bigger perennials. Some other plants that I’ve found to work well in clumps include: calendula, stocks, poppies, nemesia and primulas (and there are many more).
When planting bulbs, a handy piece of advice is to toss the bulbs on the ground and then plant them exactly where they land. This creates a clump of bulbs that are perfectly randomly placed (and so look beautifully natural).

Clusters of nemesia (oranges and reds), daisies (whites), stocks (deep purple) and primulas (light purple)
10. Don’t be afraid to shift something that isn’t working
Finally, as I mentioned at the outset, almost nothing in our gardens is set in stone and almost everything can be safely moved (given enough patience and a big enough shovel). So don’t be afraid to shift something in your garden that just doesn't feel quite ‘right’. It may simply need a change of location.
What’s more, autumn is the best season to make these kinds of changes to your garden layout. The harsh summer heat is gone, meaning anything you shift or transplant now will be spared the shock of a summer relocation. In this milder weather, the soil still holds a little of the warmth from summer, so plants transplanted now will have a chance to spread their roots into the soil before the winter cold sets in.
If you do decide to shift some of your plants in the coming weeks, here are a few things to bear in mind:
Disturb the roots as little as humanly possible - start digging well away from the base of the plant so that you sever as few roots as possible. Giving the plant’s roots a wide berth, slowly dig out and under the plant - all the way around - lifting it up gently as you go.
Once you’ve lifted the plant from its first location get it into its new location as quickly as possible (ideally, dig a hole in the second location in advance and give it a good soak with the hose).
Make sure the plant’s roots do not dry out at all once it’s been dug up. If the new hole isn’t ready yet, you can pop the plant in a black plastic bag and squirt its roots a little with the hose to keep them moist.
Once the plant is in its new home, give it a really good soak to help it to adjust. Never forget to water a newly transplanted plant - a big soak immediately after transplant (and a few in the days that follow) makes a world of difference in avoiding transplant shock.
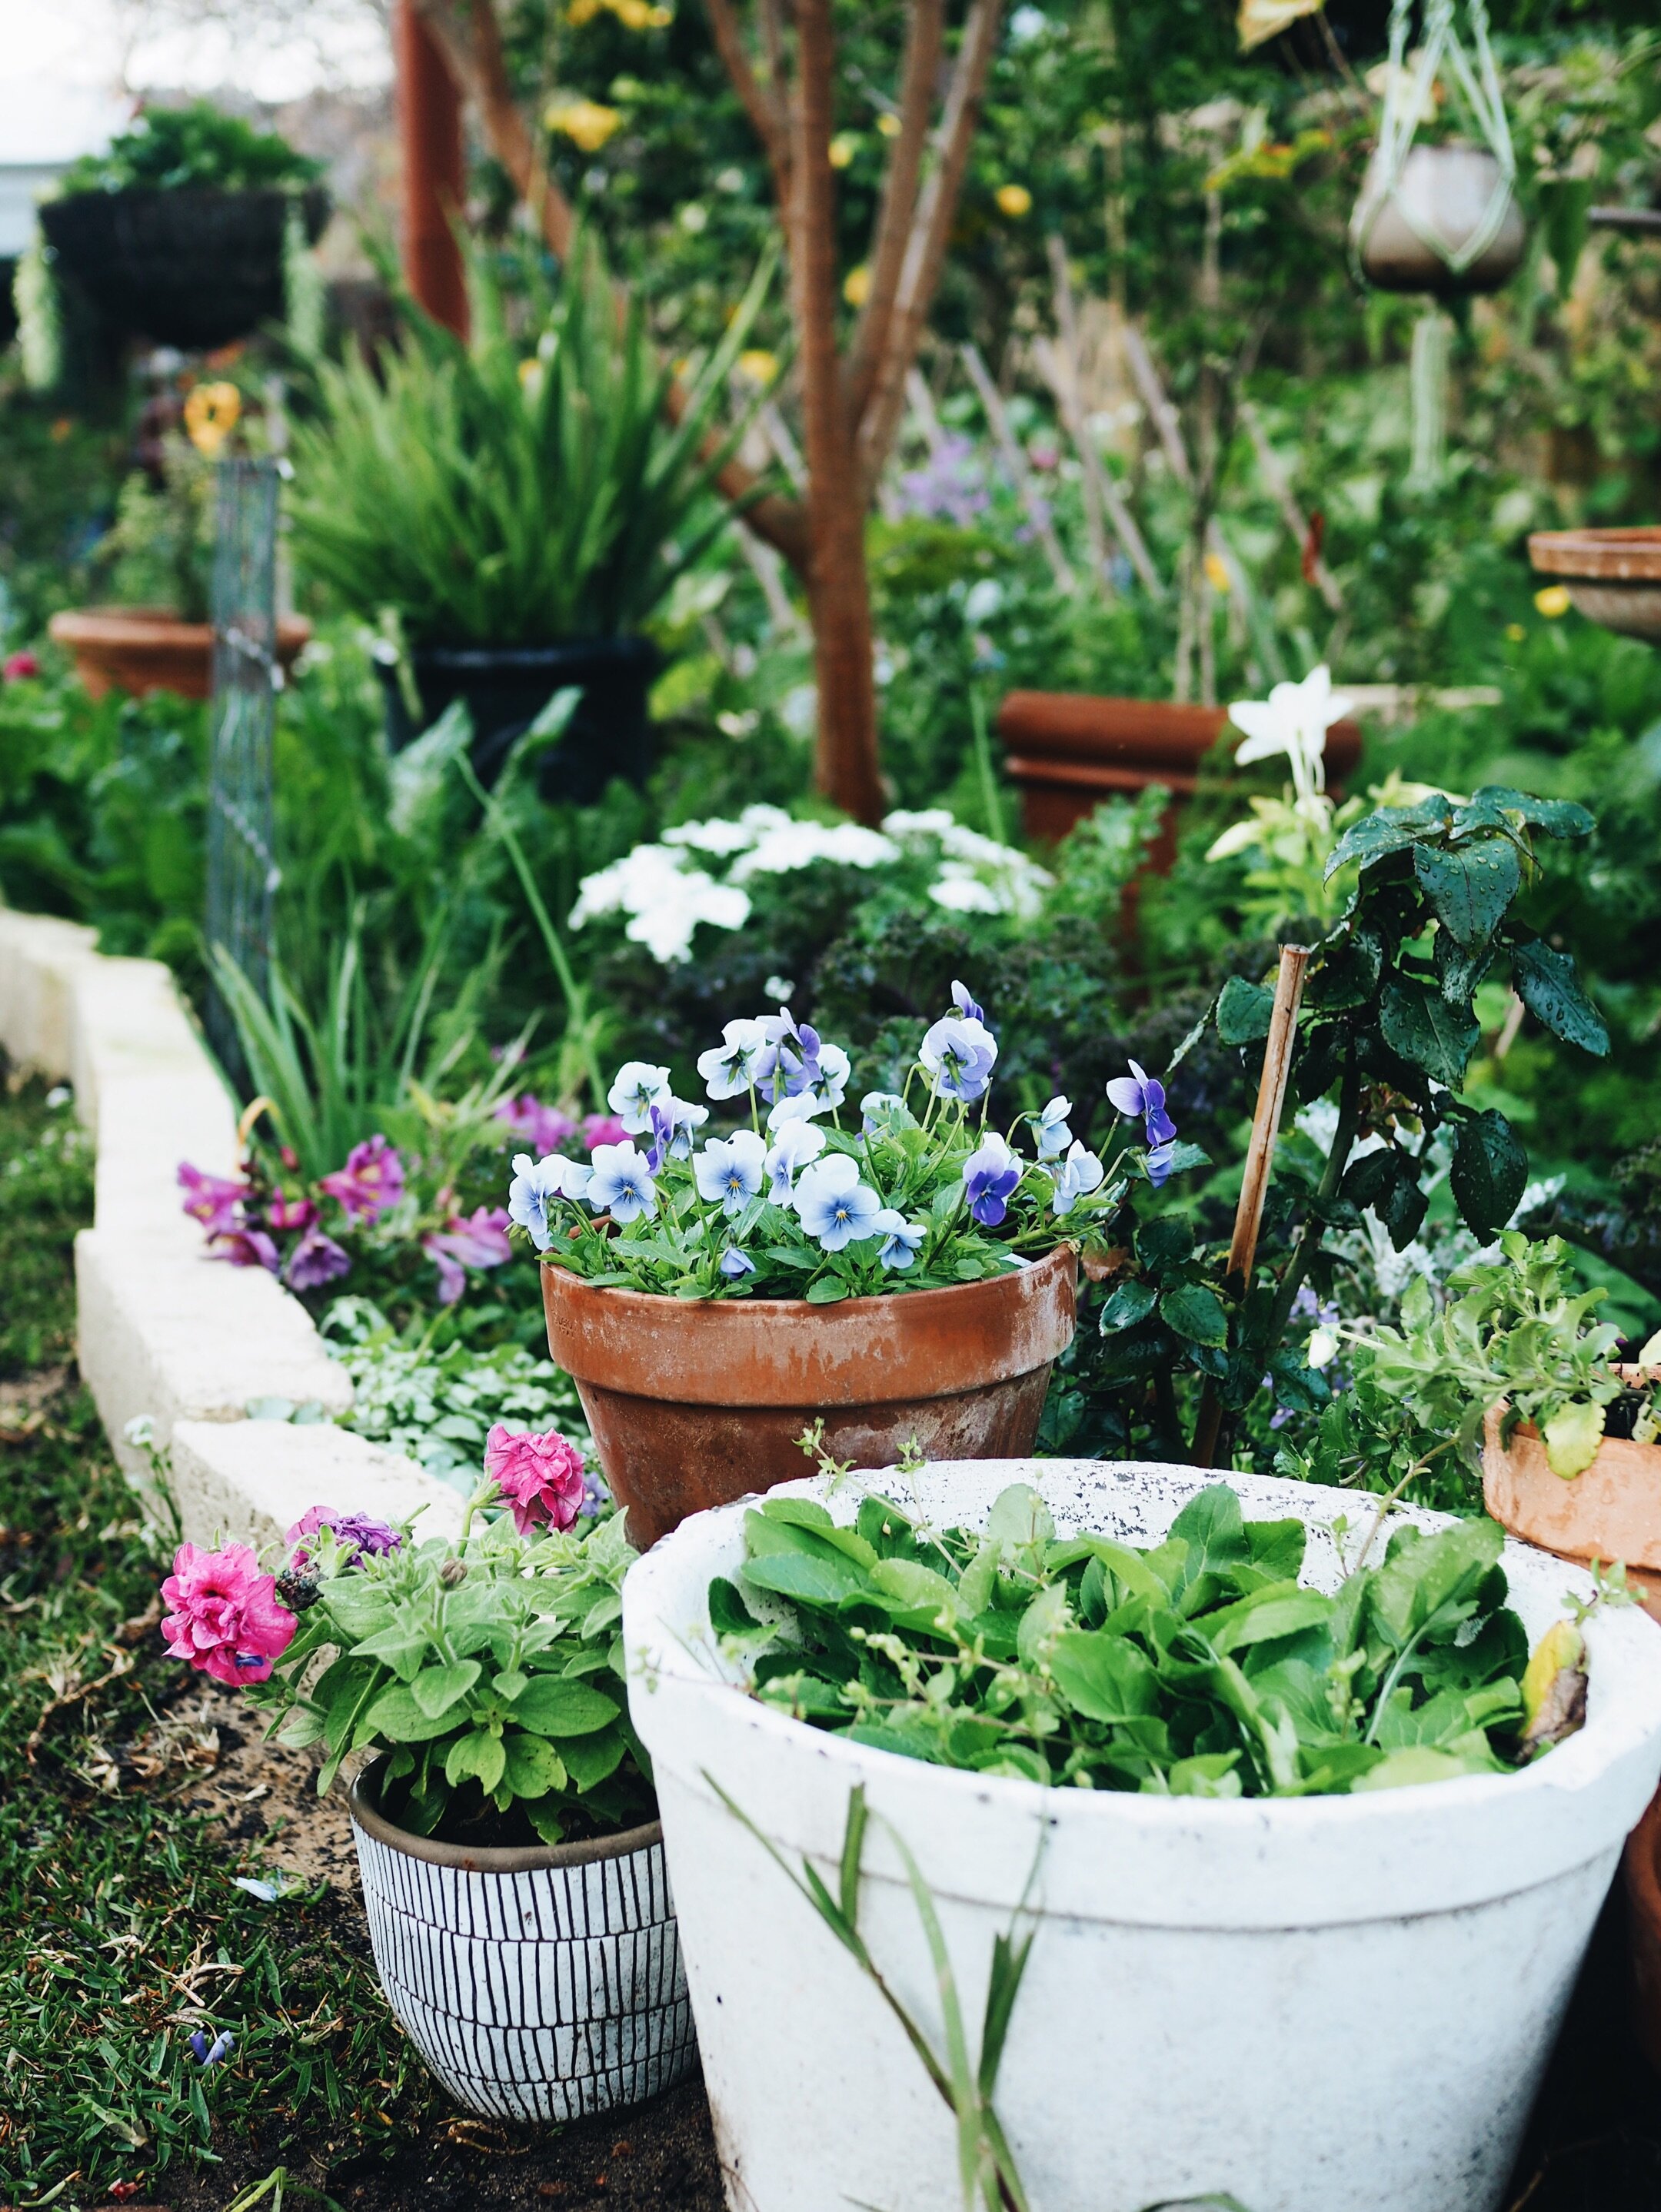
Potted violas and petunias which I endlessly shuffle around the garden (because it’s JUST SO MUCH fun!)